

Sleepovers are all about creating magical memories with friends, and what better way to capture those moments than with a fun and creative photo booth? Adding a photo booth to your sleepover can elevate the excitement and leave everyone with unforgettable keepsakes. In this guide, we'll walk you through step-by-step on how to create a picture-perfect photo booth that will be the highlight of your next sleepover.
Step 1: Choose the Perfect Location
Selecting the right location is essential for setting up your photo booth. Look for a well-lit and uncluttered area that allows enough space for both the photo booth backdrop and your guests to strike a pose. A living room corner or a spacious bedroom can work great!
Step 2: Set the Scene with a Creative Backdrop
Creating an eye-catching backdrop is the heart of your photo booth. Get creative with fabrics, balloons, fairy lights, or even a DIY paper flower wall. Consider the theme of your sleepover or the personality of the guests when choosing the backdrop. Make sure it's visually appealing and matches the vibe of the event.
Step 3: Gather Props and Accessories
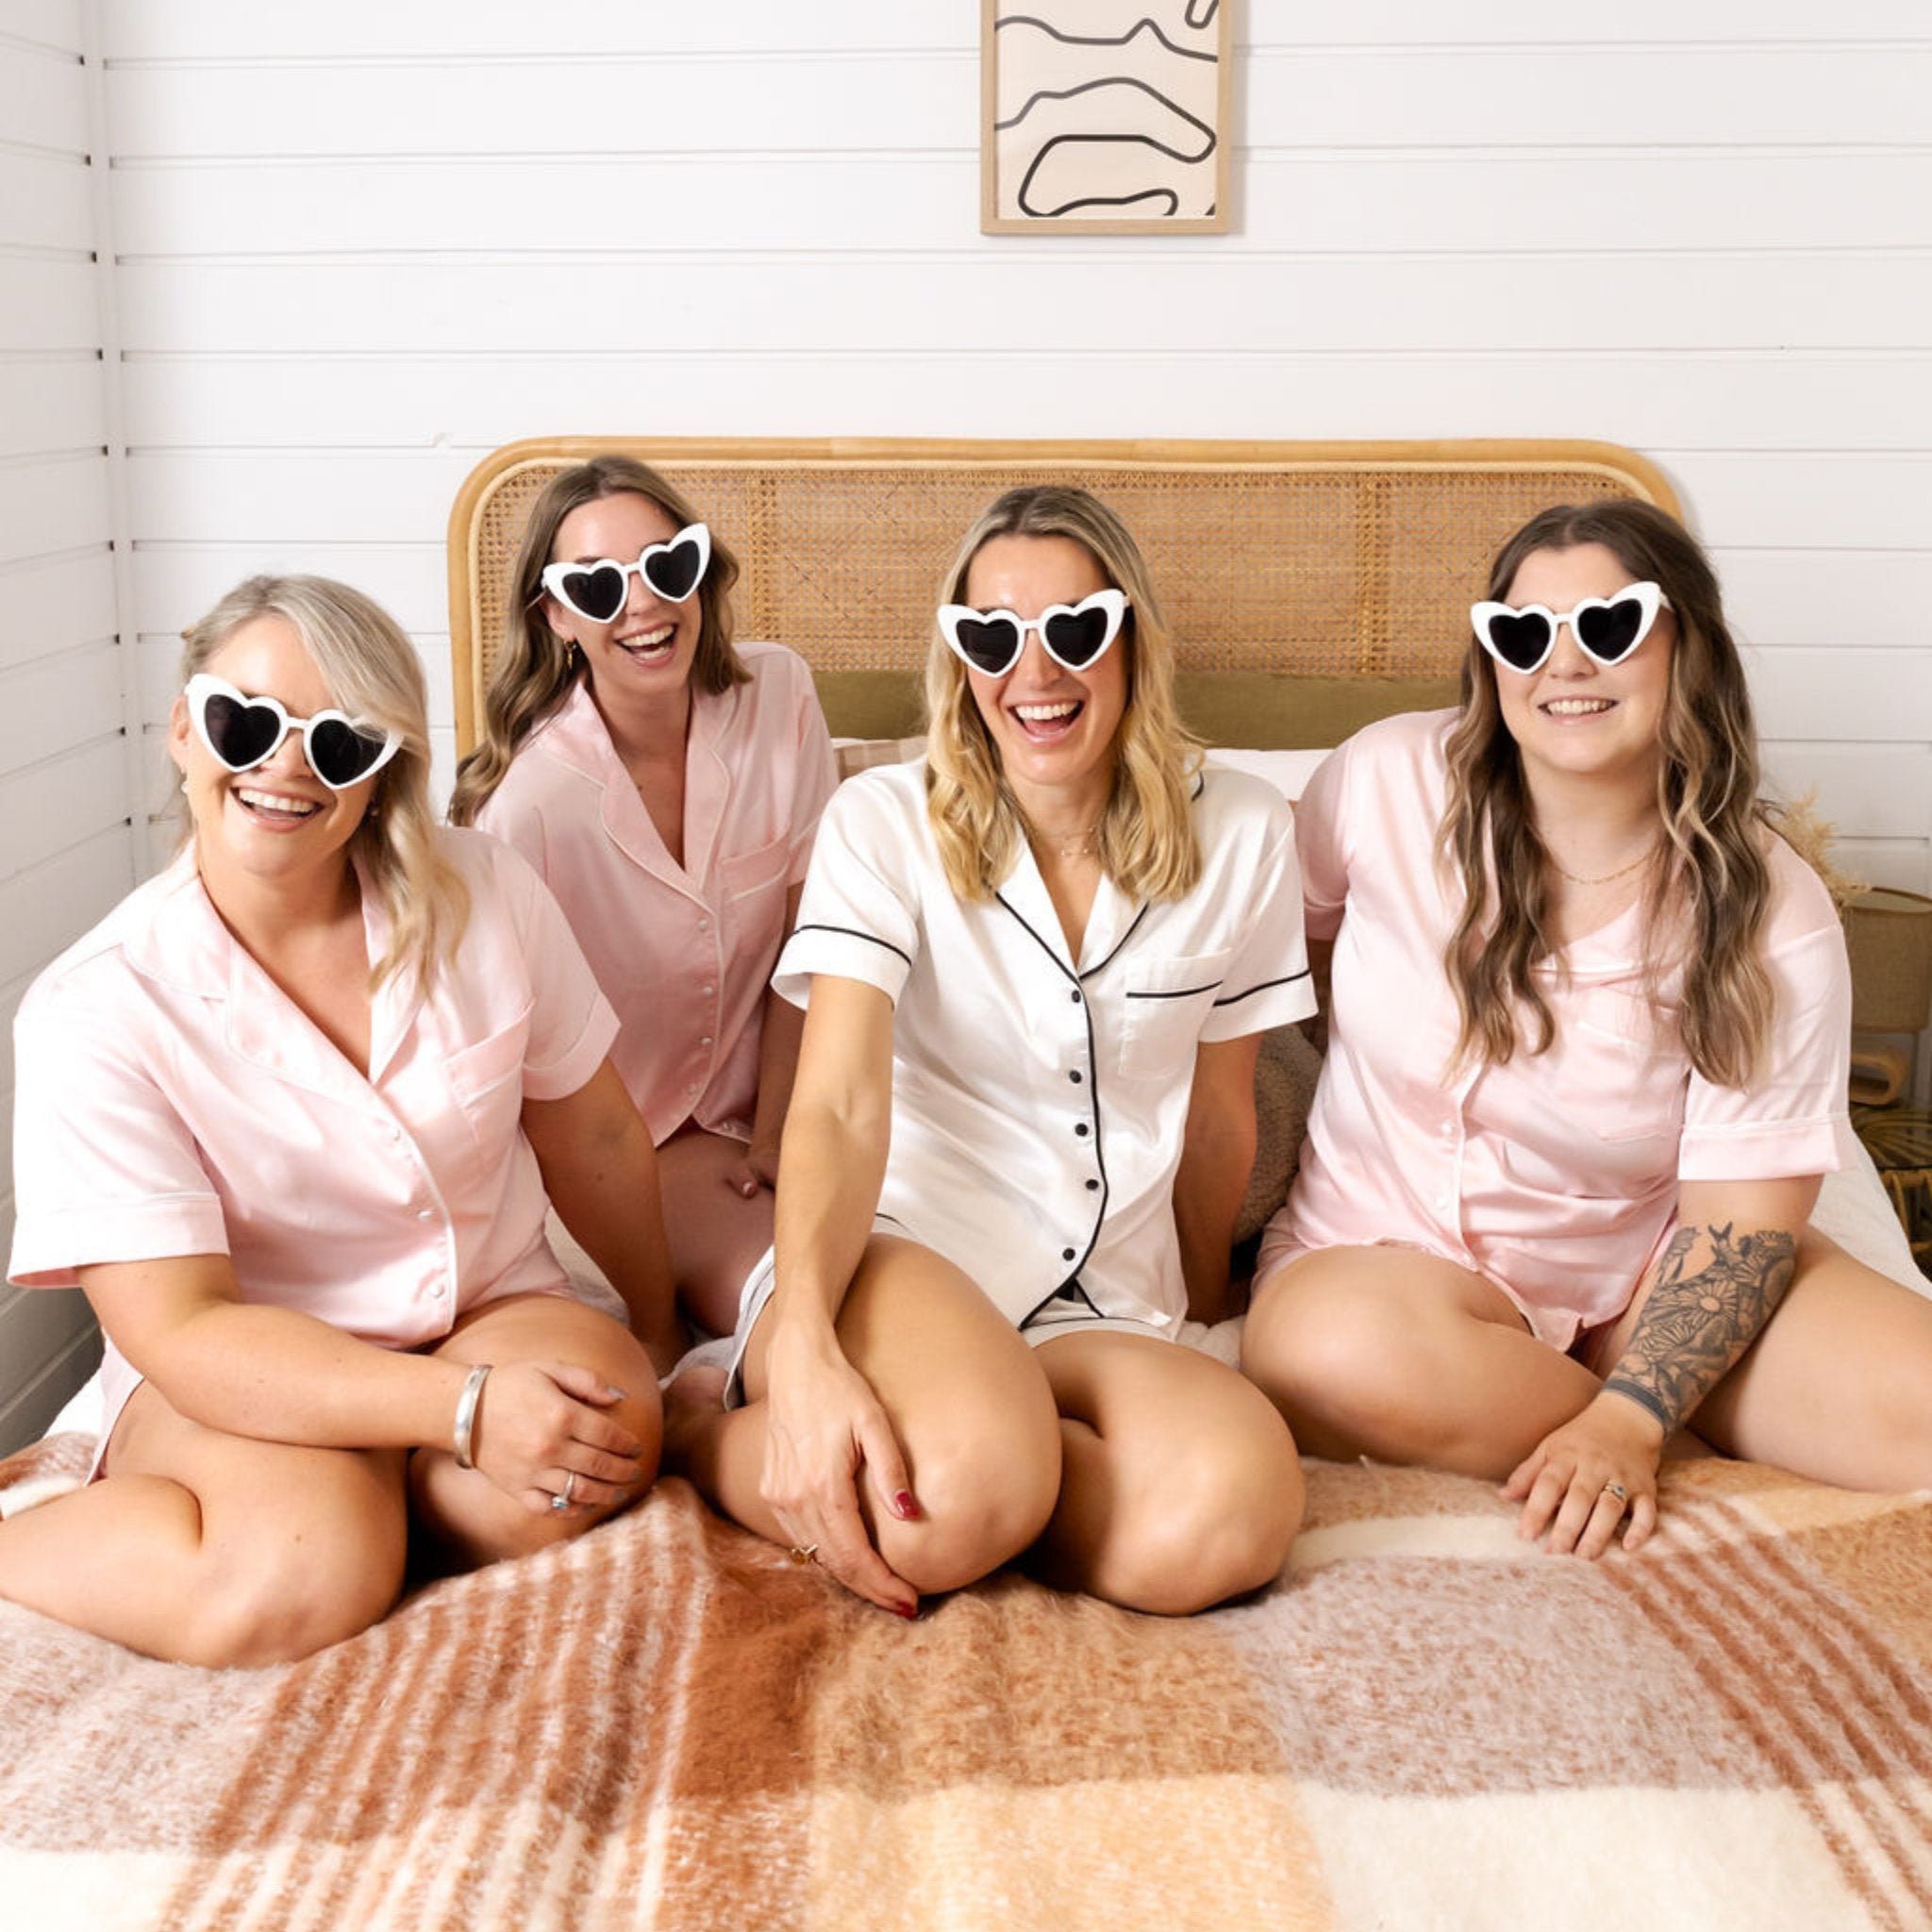
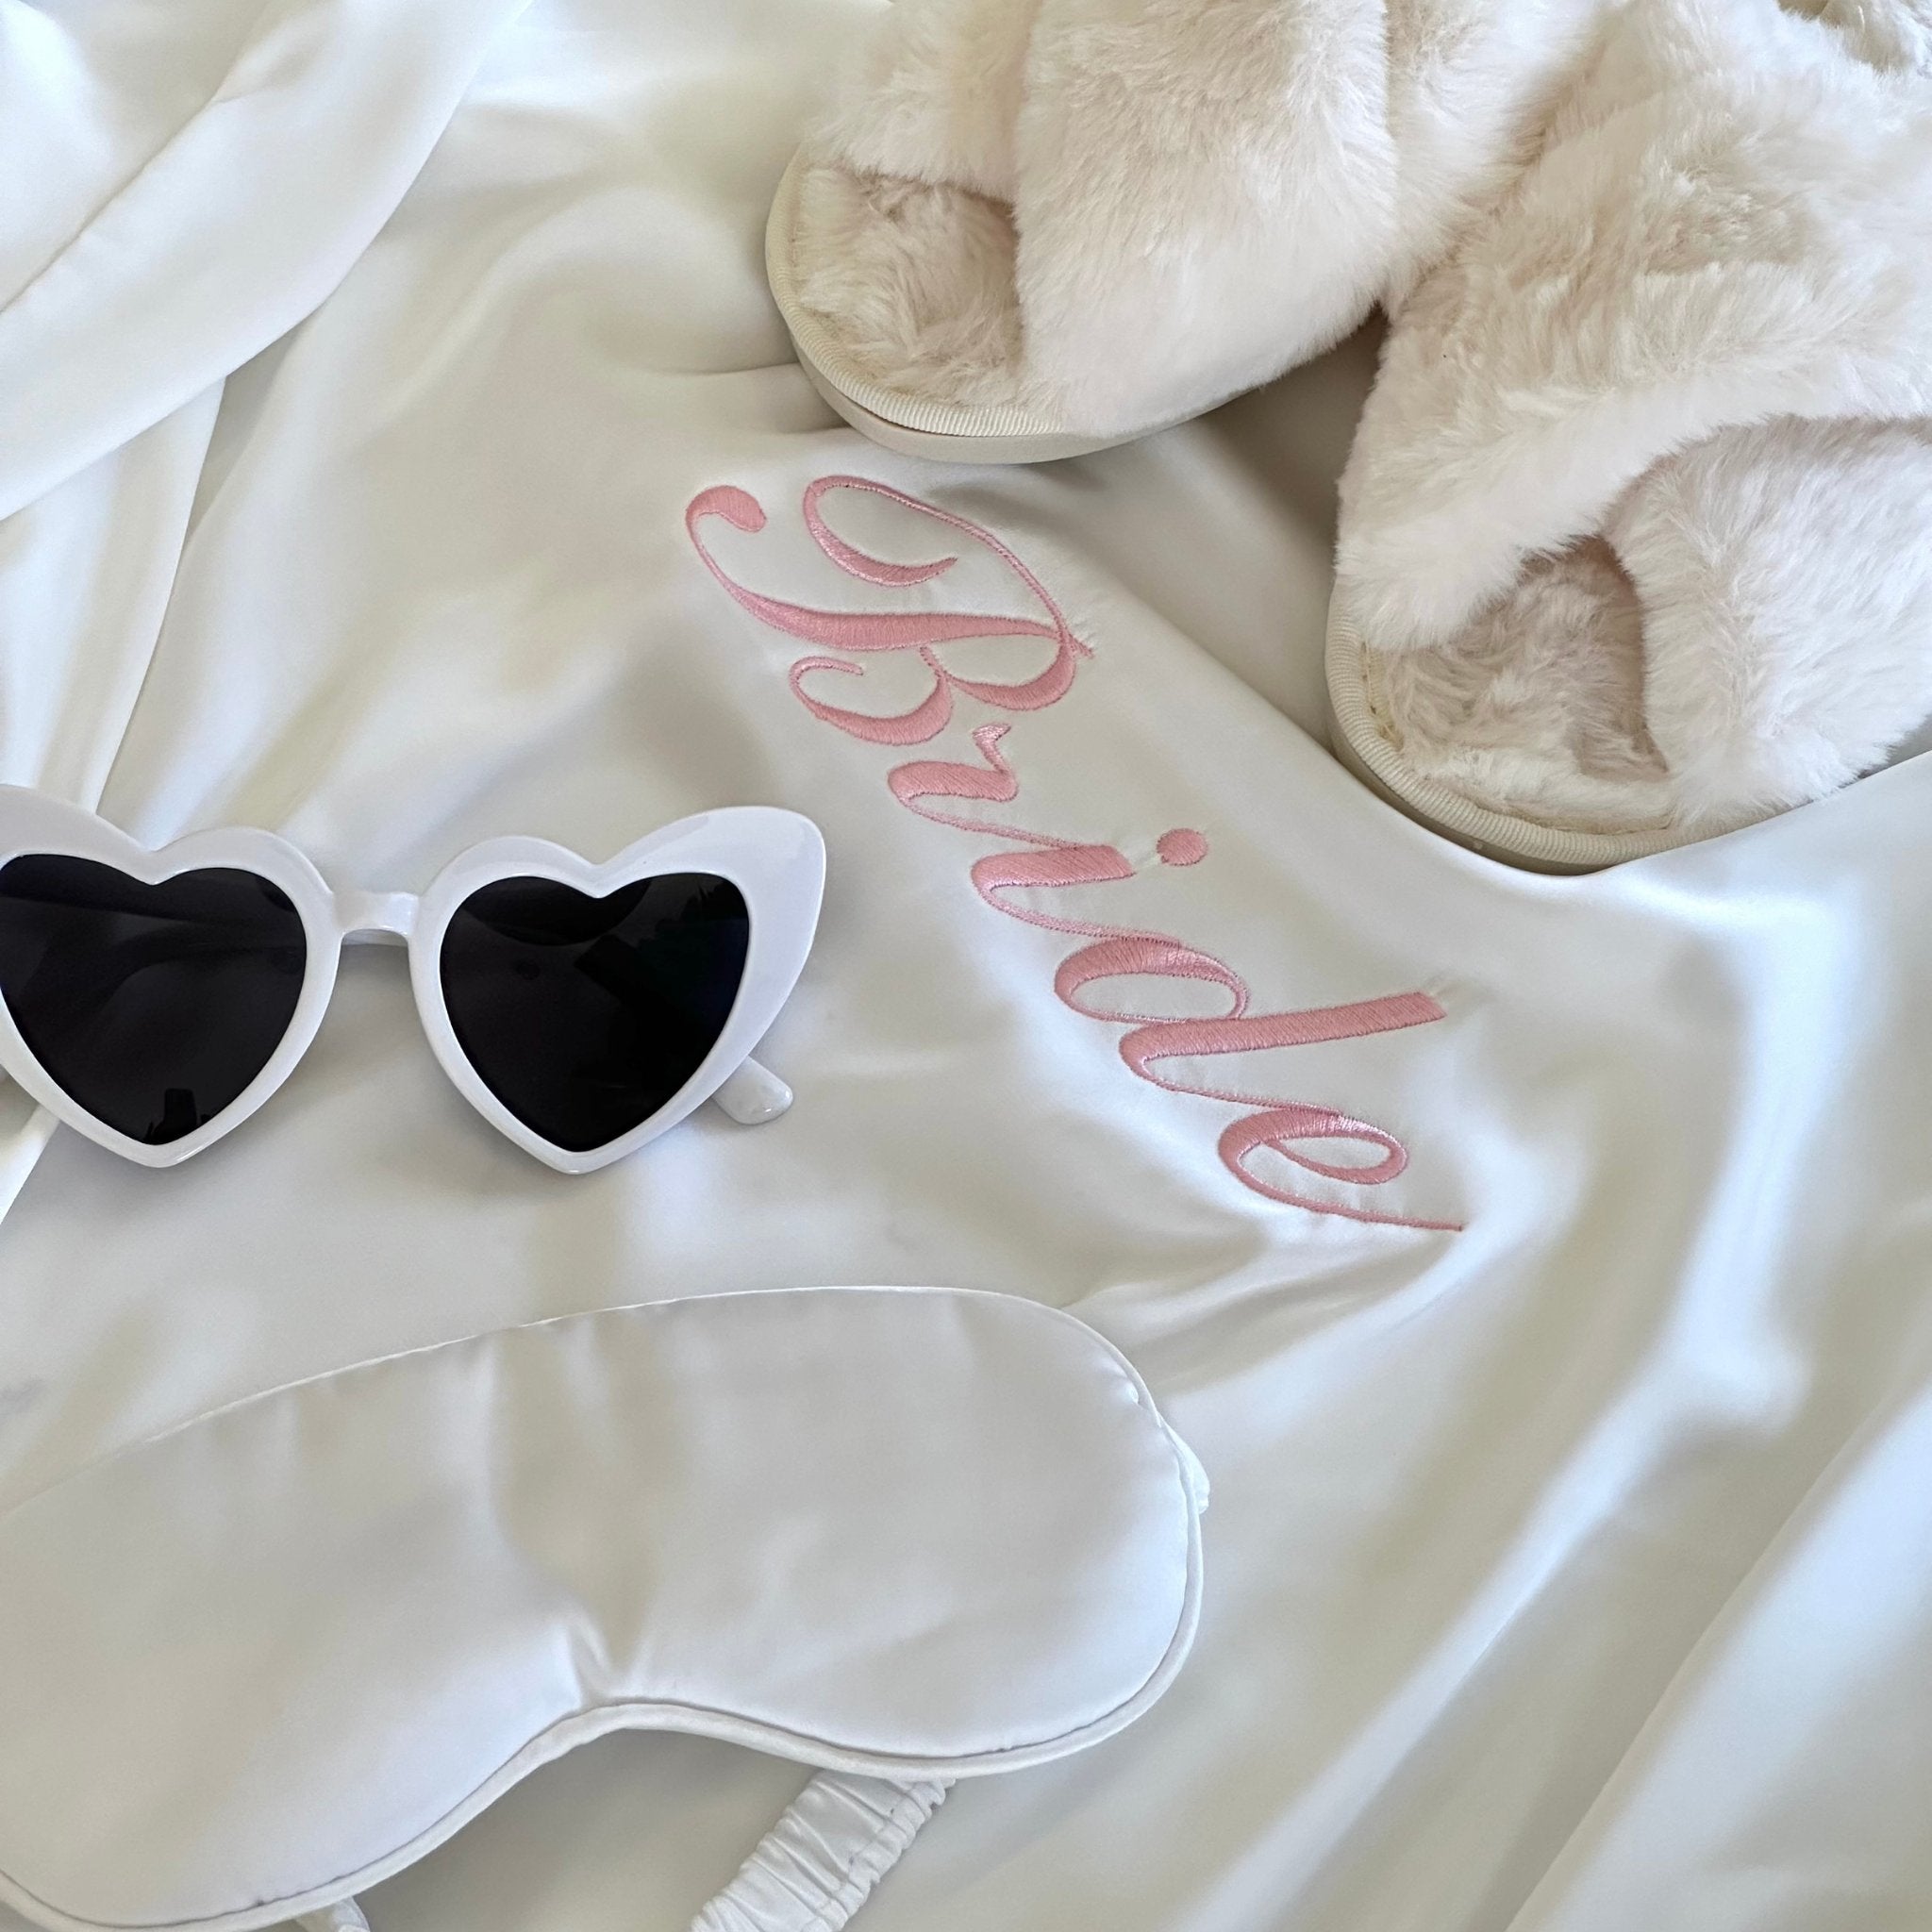
No photo booth is complete without a variety of fun props and accessories. Raid your dress-up box or local party store for items like hats, wigs, feather boas, and chalkboard speech bubbles for personalised messages. We also have our new Heart Sunglasses which offer the perfect fun wedding vibe - and matching pjs make the perfect wardrobe for your photo booth shoot too!
Step 4: Provide a Camera or Use Smartphones
Decide whether you want to use a digital camera or smartphones to take pictures. If using a camera, ensure it's fully charged and ready to go. Alternatively, designate a specific person or use a tripod to stabilise the phone for smartphone photography. An Instax camera could be cute too - imagine all the ways you could display the polaroid pictures afterwards!
Step 5: Install Proper Lighting
Good lighting is crucial for high-quality photos. If natural light isn't sufficient, set up some additional lighting sources. Fairy lights, string lights, or small LED lamps can add a warm and inviting glow to the photo booth area.
Step 6: Create a DIY Photo Booth Frame
For an added touch of fun, create a DIY photo booth frame with a large cardboard cutout in the centre. Decorate the frame with glitter, paint, or stickers, leaving space in the middle for your guests to pose.
Step 7: Share and Cherish the Moments
After the sleepover, compile the photos into a digital album or print them to create a physical memory keepsake.


